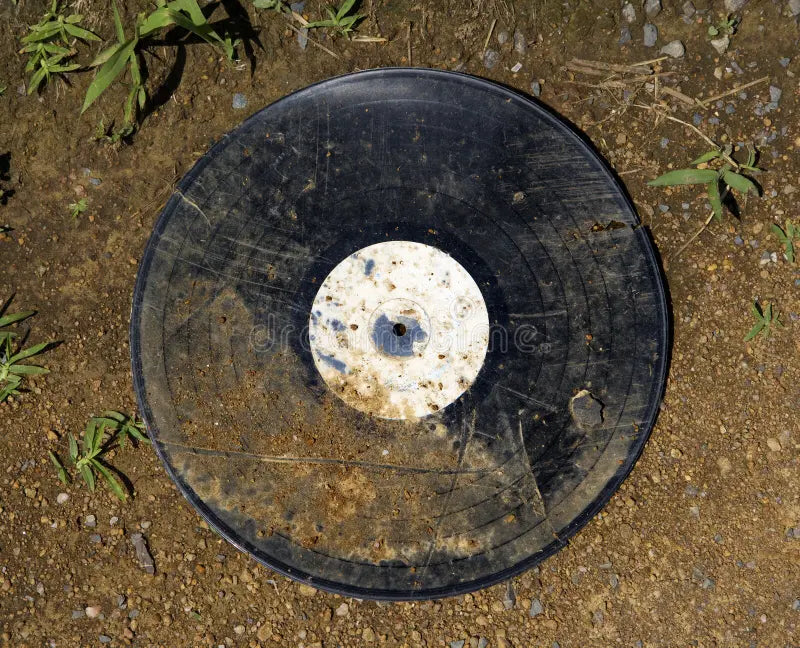
Let's chat about cleaning those precious vinyl records!
Vinyl records, they're the real deal! Nothing beats that warm, analog sound that makes your soul groove. To keep your vinyl collection in tip-top shape and ensure it's always ready to blast your eardrums with good vibes, let's dig into the art of cleaning and maintenance, and why inner and outer sleeves are the unsung heroes of vinyl preservation. Learning how to clean your vinyl records is really key to keeping them long term.
Why Vinyl Needs a Little TLC
Before we get into the nitty-gritty of record cleaning, let's get why it's so essential. Picture this: you've got your favorite album spinning, enjoying all the tunes. Then, CRACKLE POP, you hit a dirty spot. YIKES! Not cool, right? Dust, dirt, and grime can crash your vinyl party, and if you don't clean up, they're there to stay and can cause even more long term damage. Regular cleaning isn't just about sound; it's about keeping your records clean for years to come.
First - Gather Your Supplies
To get this cleaning party started, you'll need a few tools here are some that we recommend from our friends at Bounless:
- Anti-static brush: It's like a little broom for your records, dude.
- Vinyl cleaning solution: Give your records a little shower.
- Microfiber cleaning cloth: You want one that's smooth as silk.
- Inner sleeves: These are your records' pajamas. They keep them snug and safe.
- Outer sleeves: Think of these like raincoats for album covers.
Let's Get Cleaning!
Time to get down to business. Here's how you can clean your records:
Step 1: Prepare the Groovy Zone
- Find a clean, flat surface to set up your operation.
- Remember to clean your own digits- no oils or lotions.
Step 2: Set Your Vinyl Free
- Gently slide your record out of its outer sleeve, like you're unveiling a work of art. Remember, don't touch those grooves.
Step 3: Dust the Dust
- Your anti-static brush is key here. Use it to whisk away the dust and debris. Make those grooves gleam!
- Always brush in the direction of the grooves, from the center outward.
Step 4: Cleaning Solution Disco
- Pour a few drops of the vinyl cleaning solution on your microfiber cloth.
- Gently wipe that cloth in a circular motion, following the grooves. Be gentle, no need to put your back into it.
Step 5: Dry the Record
- Let your record air dry, or use a separate dry microfiber cloth to ensure there's no cleaning solution left.
Storing the Vinyl Dreams
Now, where your records sleep is just as crucial as how you clean them.
-
Inner sleeves: Your records' best friends. They'll shield them from dust, static, and the occasional clumsy stumble.
-
Outer sleeves: These are like VIP club passes for album covers. Keep 'em looking sharp, even after a wild night out.
-
Store 'em standing tall: Like your favorite potted plants. This prevents warping and keeps those grooves in the groove.
-
No extreme conditions, man: Vinyl records can't handle the heat or extreme humidity. Keep it cool, just like your style.
-
Say no to household cleaners: Cleaning vinyl records with regular household stuff? No way, man. Stick to the specialized solutions – they're like a spa day for your groovy tunes.
Your vinyl collection isn't just about music; it's an art form. So keep those records spinning smoothly, and they'll give you countless hours of groovy vibes and retro feels. And hey, remember to dance a little while you're at it, because that's what vinyl's all about, man – good music, good times, and good vibes!
May earn commissions through affiliate links

